For petanque players with back issues, a magnetic boule lifter can be a life-saver. You can buy one on the web, or you can make your own. This design for a home-made lifter is actually better than some of the ones you see for sale on the web.

MATERIALS
All of the materials should be available at your local hardware store. When I did this project in April 2022 in Tucson, Arizona, the total cost of materials was between $15 and $20. You will need—
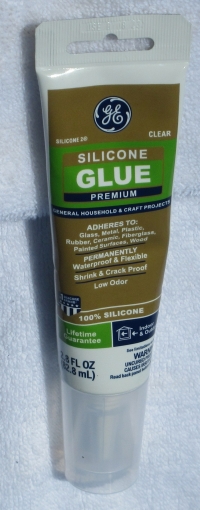
- Silicon glue. About $8 at my local hardware store.
- One eye bolt with a diameter of 1/4″ and a length of about 2.5 inches. Enough nuts (probably around 6 or 7) to fill all the threads of the eye bolt. Two small washers with a 1/4″ hole. And a plastic bottle cap from a bottle of soda.

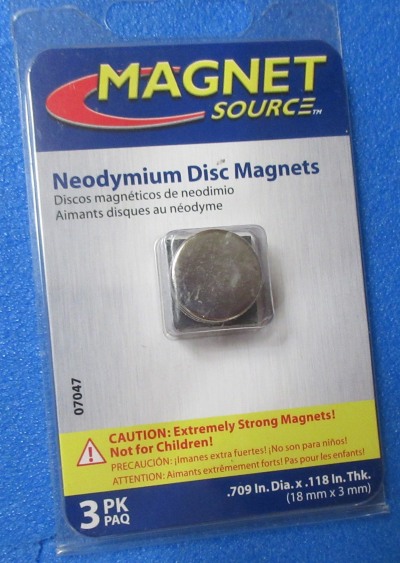
- One nickle-sized neodymium disc magnet (18mm in diameter and 3mm thick). A 3-pack cost me $6.60 at my local hardware store.

ASSEMBLING THE LIFTER
Drill a 1/4″ hole in the center of the bottle cap, so that it can be threaded onto the eye bolt.
Tightly screw enough nuts onto the bolt almost to fill its entire length.
Add one washer, then the bottle cap, then the other washer.
Finally, screw a nut tightly on to the end of the eye bolt so that it holds everything together.
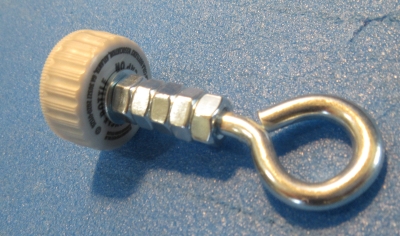
Note that the end of the bolt doesn’t protrude out past the nut.

At this point you can place the magnet on the nut and see where it will be located when the project is complete.

Note that the magnet is positioned slightly below the edges of the bottle cap. That’s good. The magnet will be well protected.

Squirt a thin layer of silicon glue onto the nut.
Fill the area around the nut with more silicon glue, so the nut looks like an island in a sea of silicon.
Position the magnet on top of the nut and push it down firmly, so that it is glued to the nut.
The final step is to fill the area around the magnet with more silicon glue, right up to the edges of the bottle cap. The goal here is to create a rubbery silicon buffer around the magnet. The silicon buffer will protect the edges of the magnet, and the edges of the bottle cap, in turn, will protect the silicon buffer.
If there is any glue on the face of the magnet, wipe it off with a paper towel so that the face of the magnet is clean. Gently smooth out any bumps or irregularities in the silicon glue around the magnet.
Set the lifter aside to give the silicon glue time to cure. Since we’ve slathered on the glue in great dollops rather than using it as a thin layer of adhesive, allow extra time for it to cure. When it has cured, you will have a working boule-lifter.
Attaching a cord
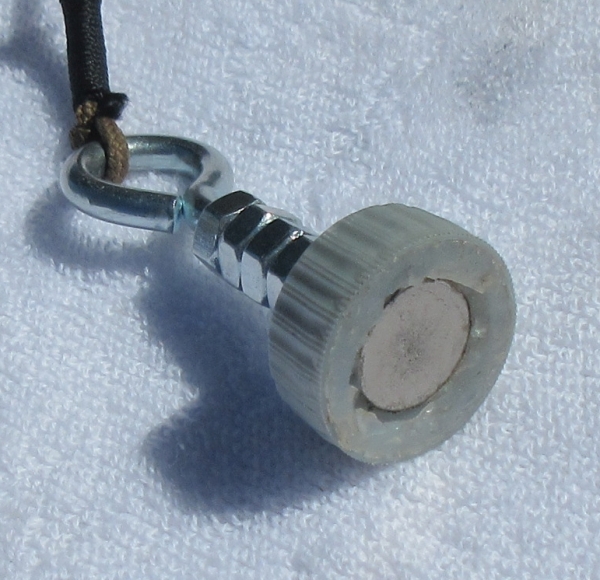
When you attach a cord and a ring, your lifter will be ready to use. Note that I say “cord”, not “string”. Strings get tangled easily because they are thin and flexible. Something thicker and stiffer— a cord— won’t tangle so easily. For another boule lifter I used a light cotton cord (see picture below). In this project I used a heavy boot lace.
Select a metal ring that can be grabbed by the magnet. (That way you can wear the lifter like a necklace when you’re not using it.) A split metal key ring works well enough, but I prefer a nice “welded ring” (like the one in this picture) which I got at my local hardware store for $1.60.

The boule lifter is now ready for use. There is a photo of the finished product at the top of this page.
This is actually our second design for a magnetic boule lifter. Our first version used galvanized steel washers and epoxy glue (rather than a plastic bottle cap and silicon glue) to support and protect the magnet. It worked well, but didn’t last very long. The epoxy had difficulty sticking to the smooth flat surface of the steel washers, and it was so brittle that it cracked and broke away after about three months of use. I think that this design will solve those problems. Over the next few months I will use it regularly and report on what I find. [2022-04-02]
