The basic idea — a sandbox
When you’re practicing shooting with a shooting pit, boules sometimes bounce high enough to fly out of the pit. The usual solution for this problem is to enclose the pit with nets or high sideboards, but there’s another solution— make the pit out of sand, which will dampen the bounce of a bouncing boule. Lay a piece of carpet over the sand, to enable boules to roll away from their donnée and into a boule collecting area where they can easily be gathered up.
When I began my project, I had a general idea of what I was going to build (see the diagram, below) but construction was essentially a series of improvisations. [Click to view larger image.] 
Making the sandbox frame
At my local lumber yard I purchased three 8-foot-long 2×6 boards. Out of one board I cut two 41-inch lengths to be used as the ends of the sandbox. I used the other two boards for the long sides of the sandbox. I used four big screws to bolt the boards together to form a rectangular frame.
Adding the sand
I laid a 4’x8′ sheet of heavy-duty plastic (Plas-Tek) on the ground to create a more-or-less flat surface, and then I laid the frame down on the Plas-Tek. Around the inside of the frame I laid down heavy-duty plastic garbage bags. The bags formed a patch over the joint between the wooden frame and the Plas-Tek foundation, to keep sand from leaking out from under the frame.
With the frame in place, I filled it with sand so that the top of the sand was flush with the top of the boards.
I used some surplus plastic fence boards to build sideboards along the sides of the sandbox, about an inch outside of the wooden frame. The distance between the sideboards, across the pit, was about 45 inches. It is important that this distance be less than 48″ (four feet)— I’ll explain why when I discuss the rain cover for the pit.

Leveling the sand
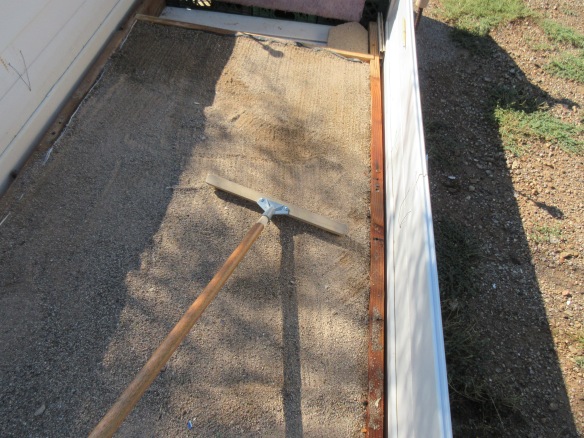

Installing the carpet
The finishing touch to the basic design was to lay a piece of scrap carpet over the sand.

Installing the target ball
The target ball is a wiffle ball on a light elastic cord stretched across the pit. (See shooting practice with a wiffle ball.)

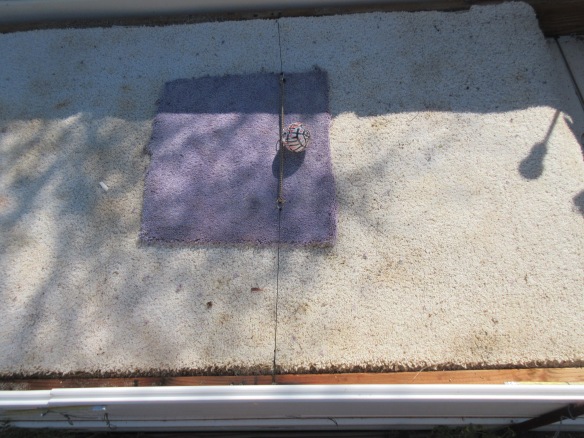
Under the target, I placed a pad made of a darker-colored carpet scrap. It helps make the target more visible, and provides a little extra protection for the underlying sand, which receives a regular pounding.
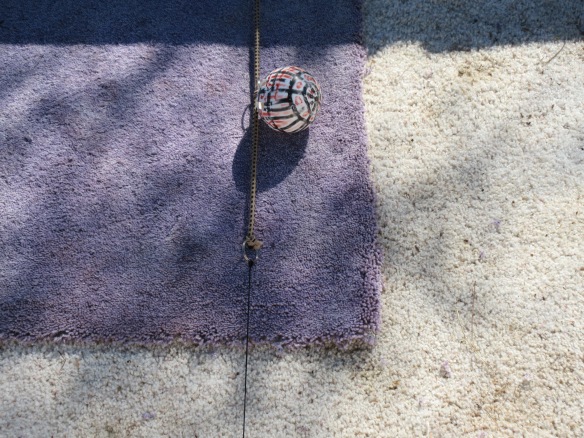
I used magic markers to make the wiffle ball more visible in low-light conditions.
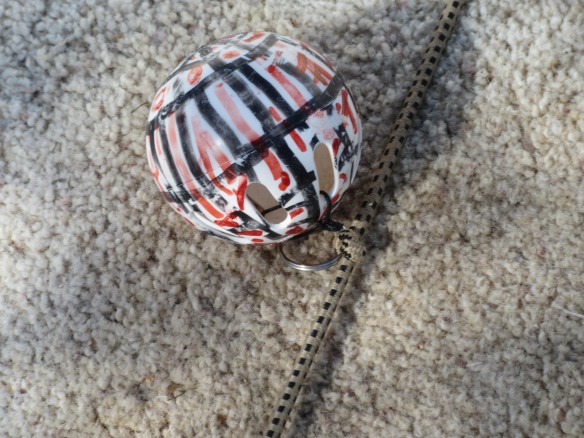
If I want to place the rain cover over the sandbox, or if I want to remove the carpet to re-level the sand, the wiffle ball’s cord can be unhooked and removed quickly and easily.
Installing the backstop
To make the backstop, I bought some heavy-duty UV-resistant sandbags on amazon.com, filled them with sand, and piled them up to create a low wall. The wall acted as a backstop and also enclosed a collecting area for boules at the end of the shooting pit. The sandbags did an excellent job of stopping boules, but it took a lot of sandbags to make a reasonably high backstop. The sandbags were heavy and difficult to work with. And the pile was irregular and unstable. I pulled it down and went looking for something better.
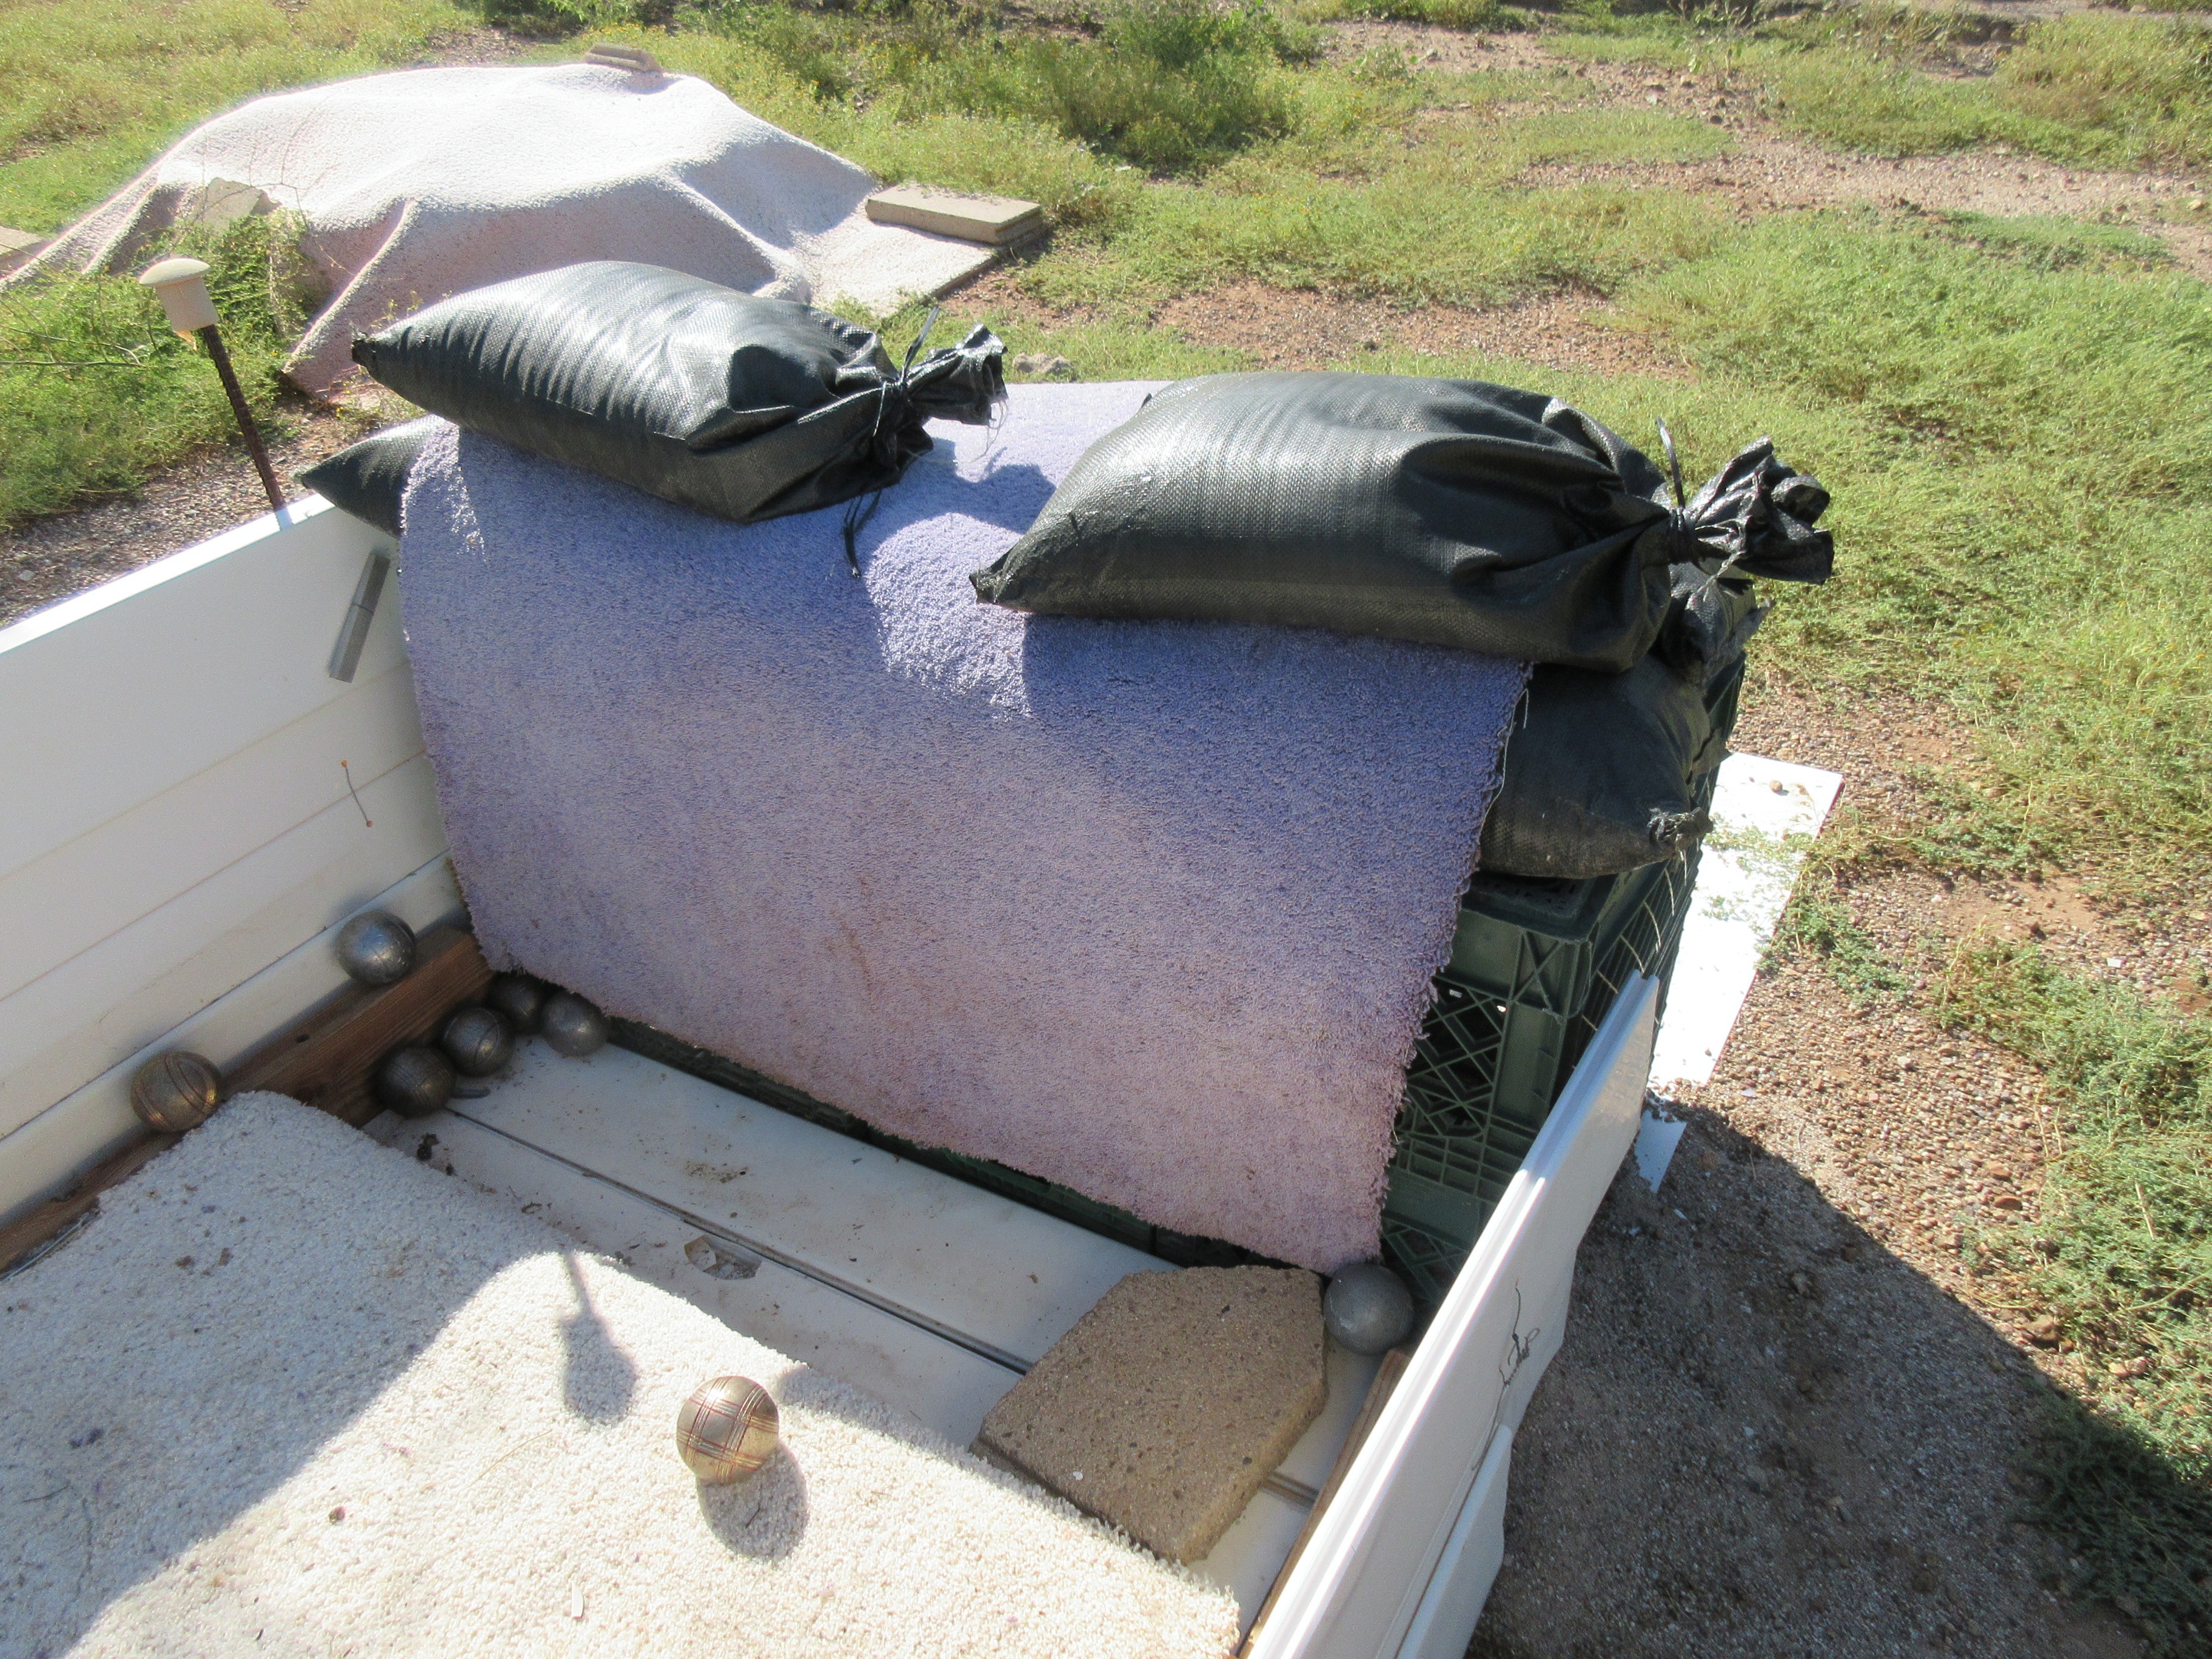
I found some heavy-duty milk crates at a local thrift shop, and I used them to make a backstop. I liked working with the crates— compared to the sandbags they were very light and much easier to work with.

Structurally the milk crates worked very well, but their sides were so elastic that boules would hit them and bounce back onto the sandbox rather than dropping into the boule-collection area. As an experiment, I hung a curtain of scrap carpeting in front of the crates. This worked very well. When a fast-moving boule hits the hanging carpet, the weight of the carpet absorbs its momentum and the boule drops down into the boule-collecting area. A couple of sandbags on top of the crates secures the carpet in place and makes the whole structure heavy and immovable.
Installing the boule collector board
I installed a sloping board in the boule-collecting area. The slope of the board makes boules roll to one side of the the boule-collecting area, which makes it easier to gather up the boules. Occasionally during lobbing practice a wild high lob will drop straight down into the boule collector, so I replaced my first board of white plastic fencing material with a sturdy piece of 2×12 lumber.


Installing the rain cover
I used another 4’x8′ sheet of Plas-Tek as a rain cover. It is surprisingly light. It can quickly and easily be placed over the sandbox (and later removed) in case of rain. Because the distance between the sideboards is less than four feet, when you lay the four-foot-wide Plas-Tek sheet across the pit, it naturally curls up on one side. This creates a slope that causes rain to run off the Plas-Tek sheet and into the gap between the sandbox frame and the sideboard.

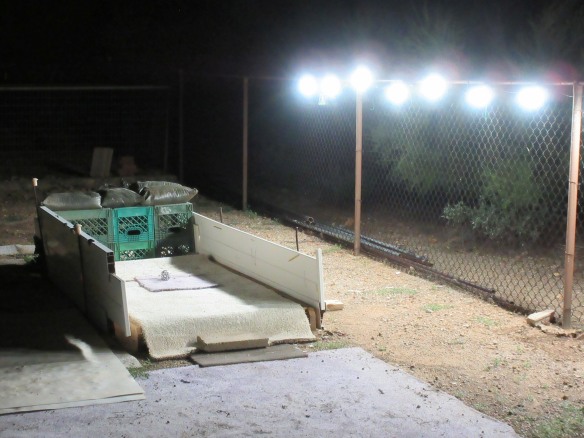
Installing night lights
This was an afterthought. In Tucson’s desert climate, the best time to practice is before and after sundown. By then the heat of the day is dying down, there is a light breeze, and it is delightful to be outdoors. I had installed the shooting pit near a fence, and I realized that I could hang lights from the fence and continue practicing even after it started to get dark. So I did that, and it worked great. I wish now that I had installed the pit a little closer to the fence, and if I ever build another shooting pit I will definitely make lighting a part of the project.
Practicing lobbing
I use the pit to practice lobbing as well as shooting. I take a colored carpet scrap and place it two feet in front of the wiffle ball. My goal is to throw my boule high, so that it lands on this “lobbing pad” and then rolls close to the wiffle ball. In this picture I managed to get 6 (out of 21) boules reasonably close to (but behind) the target.
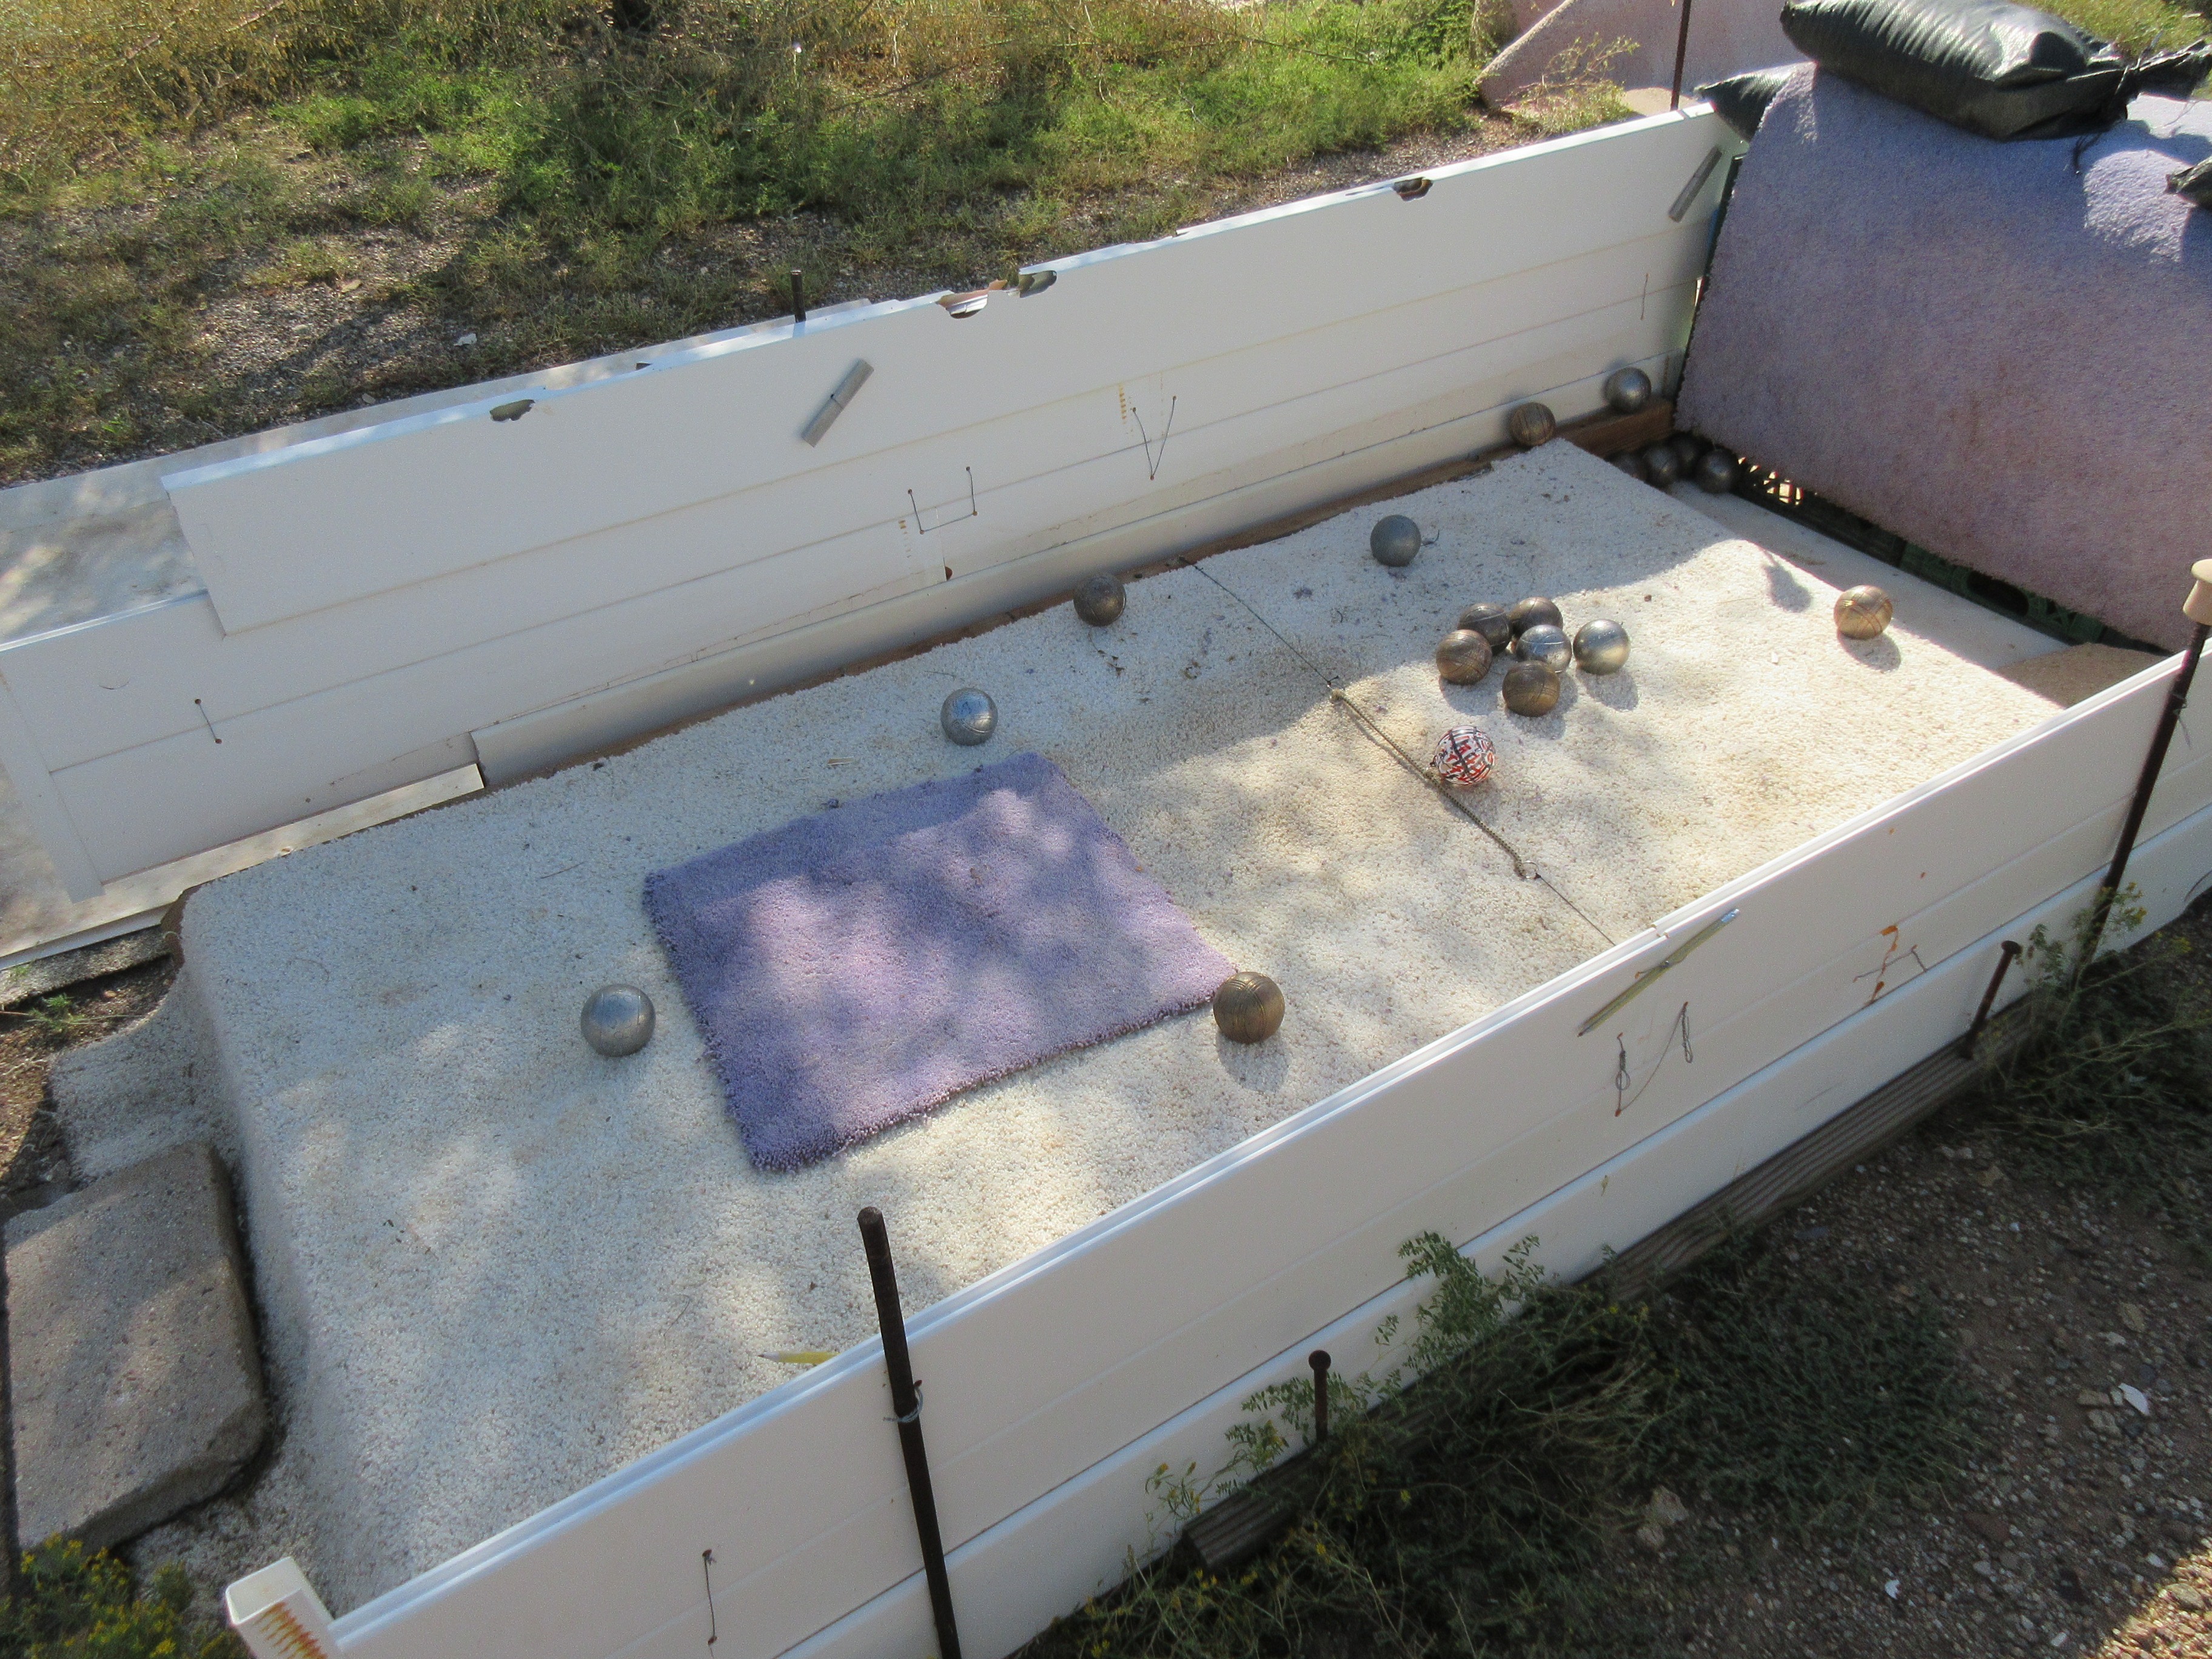
The sandbox in action
I created a short Youtube video to show the sandbox in action. You can watch it and judge for yourself the overall design and the bounce suppression of the sandbox.
Some closing thoughts
Because of the bounce-suppression capabilities of sand, the sideboards of this shooting pit don’t need to be very high. My sideboards are about 16 inches (40cm) higher than the surface of the sand, or about 22 inches (55cm) higher than the ground.
On one side of the sandbox, I left a gap of about an inch (3cm) between the side of the sandbox frame and the sideboards. When it rains, the rainwater runs off of the rain cover and into this gutter.
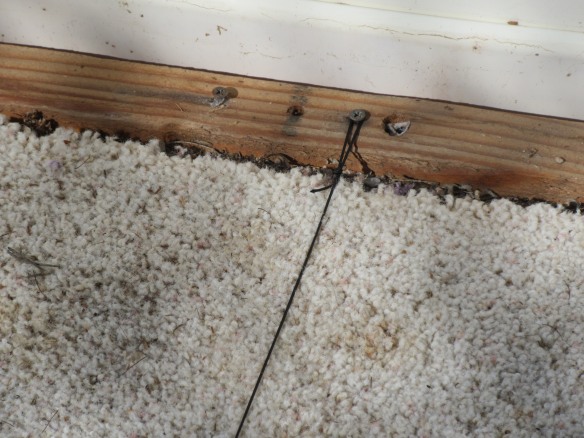
Note that the carpet is wide enough to cover the sand but not wide enough to cover the boards that form the long sides of the sandbox frame. Those boards are left exposed because they hold the screws that hold the ends of the elastic cord that holds the wiffle target ball in place.
Note that the carpet that covers the sand is not nailed to the sandbox frame. You want to be able easily to remove the carpet so you can get at the sand. either so you can smooth and level the sand, or so you can dry out the carpet and the sand after an unexpected downpour. Because the carpet isn’t nailed down, each boule that you throw will push the carpet a fraction of an inch, and over time the carpet will slowly creep backwards toward the boule-collection area. Every now and then I simply tug the carpet back into place.
Unlike shooting pits made with harder materials, this shooting-pit is quiet. You can practice in your back yard without disturbing your neighbors.
Stores that sell and install carpeting also discard large scraps of used carpet. Usually you can find a carpet store near you that will be happy to let you raid their dumpster for scrap carpet. If a carpet store is closed when I arrive, and there’s nobody to ask, I’ve been known to raid a dumpster without asking permission. In my experience, carpet stores really don’t care at all about how their dumpster gets emptied.
When I experiment with shooting pit designs, I use cheap, scrap, and recycled materials— whatever I can readily lay my hands on. My experiments are designed to test functionality, not to look pretty. That means that you can easily build a shooting pit for yourself that is much more elegant than this one.
I’m sure that further improvements to this design are possible. So my purpose in this post isn’t really to document an ideal, ultimate design. Rather, I hope I’ve provided a few ideas that you may find useful when you construct your own shooting pit.
If you are interested in my earlier experiments in shooting-pit design, see THIS.
FOOTNOTES
The white plastic sheets that I put under the sandbox and use as rain covers are an acrylic material called Plas-Tek. They are used to line showers and may be available at your building-materials store. They come in 4’x8′ sheets, about 1/8″ thick, and cost about $30 each.
